Saturday 25 April 2015

Anzac Day 2015- Lone Pine 1915

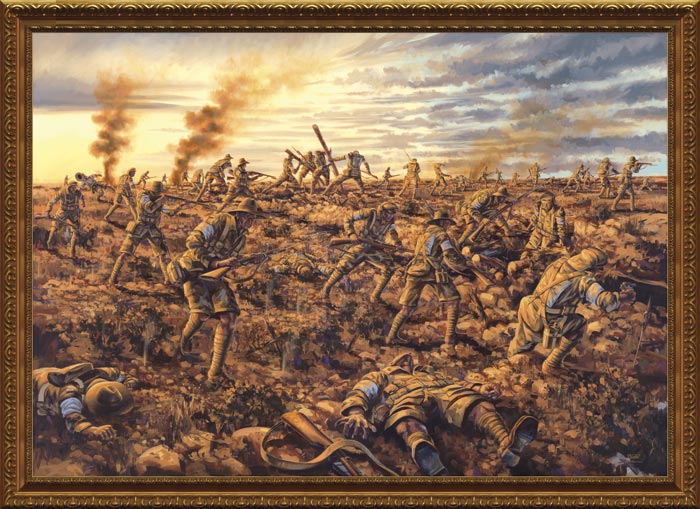
The attack on Lone Pine was part of the August Offensive in the 1915 Gallipoli Campaign. Over 6th-9th August Australians took and held the Turkish position at Lone Pine in a diversion to tie down the Turks whilst larger forces attempted to take the high ground further north. Parts of the Turkish position had fully roofed trenches made from heavy timber, with firing slits at ground level. The roofing had to be clawed off to break in. The complex and confusing trench network then had to be held from Turkish counterattacks. Seven Victoria Crosses were given for the action, and over 2000 Australian casualties were sustained.
'The taking of Lone Pine' by Fred Leist (1924)
'The Battle of Lone Pine' by Drew Harrison (2012)

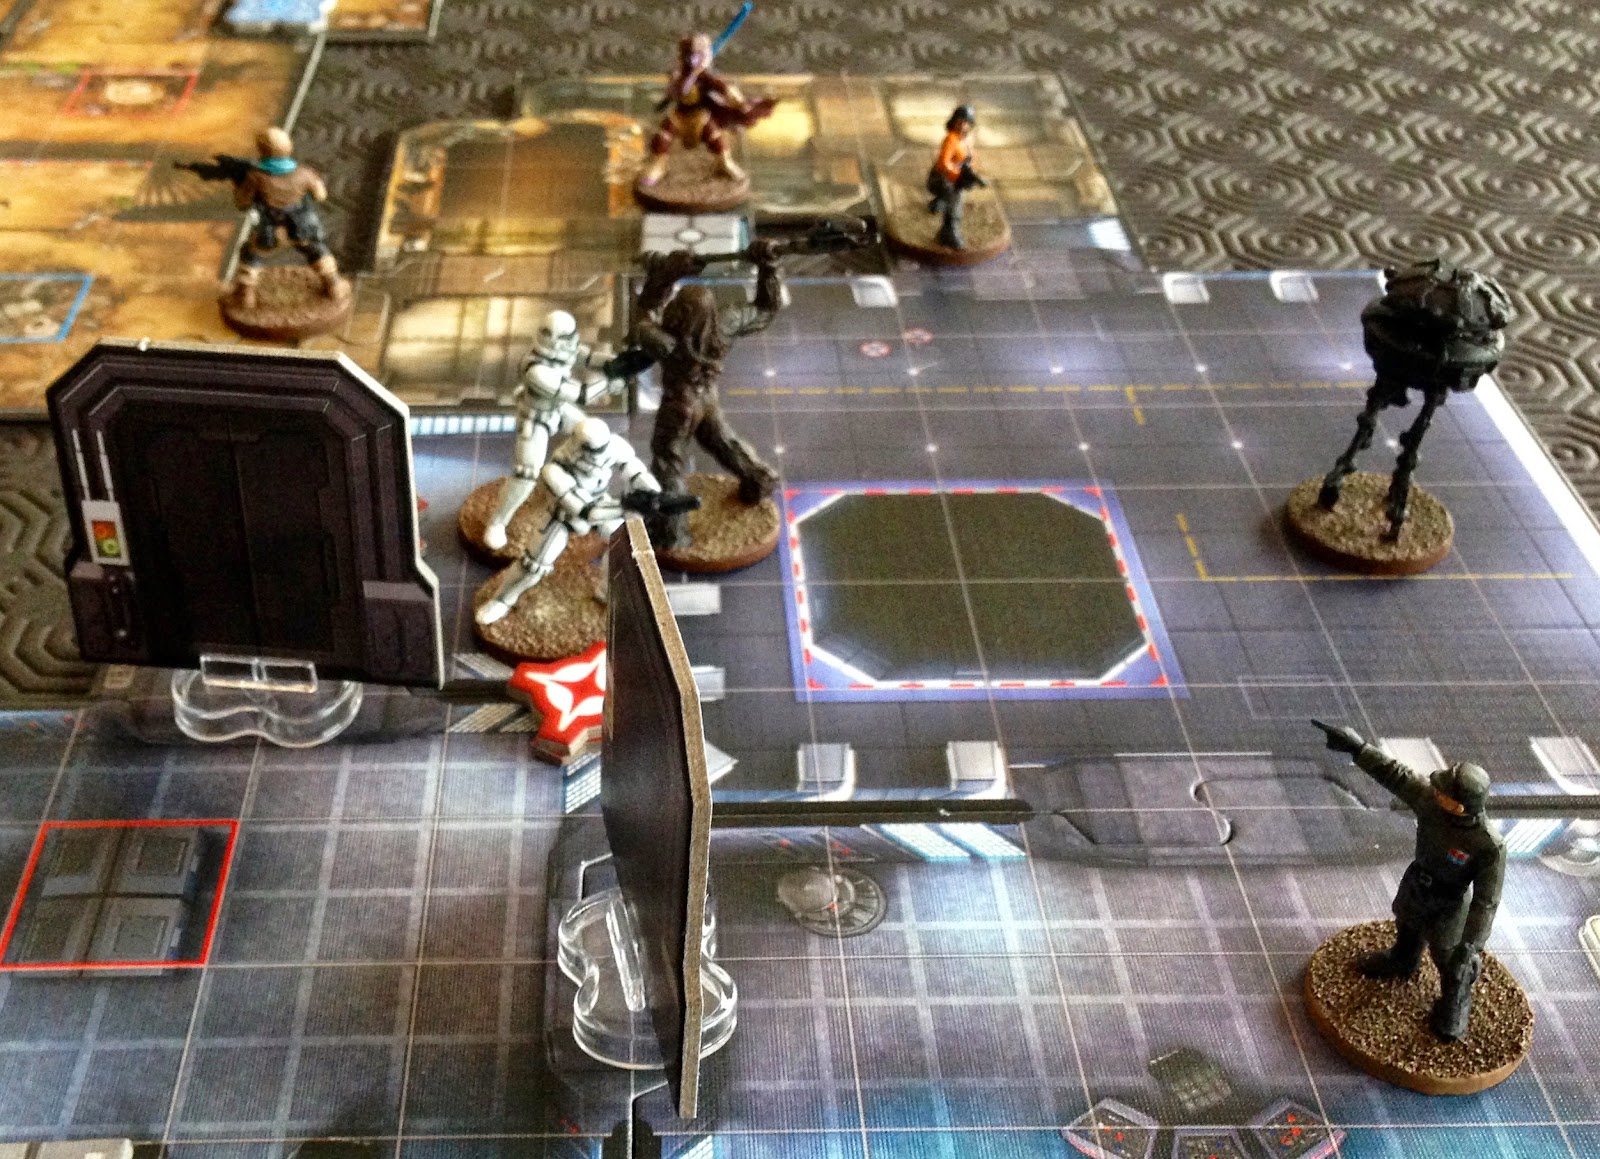
This 54mm figure is a Mike Broadbent sculpt for OzMade Figures which I painted years ago. I sculpted the recognition armbands (from Blu-Tac cured with superglue!) and added 2nd Battalion colour patches. This week I touched it up with a wash, repainted where the paint had chipped, and rebased it after vermin had got at the basing material(!). He's probably a bit more neatly dressed than he would have been- jacket buttoned up to the neck, puttees, trousers not shorts.


The following picture is of a forced-perspective diorama made in the 1920s and maintained on display at the Australian War Museum.
Here's one picture of the Wargames Illustrated display from Salute 2011 (photo by Steve the Wargamer).

The master plan- "Lone Pine Maze" in the centre, main attack to the north. Note the scale.
A rotated view of part of the Lone Pine complex.

2nd Battalion, AIF
Gallipoli medallion
Lone Pine Cemetery, Gallipoli

Lest we forget.
Postscript: Please check out 'Mustering the Troops', the superb diary of the collaboration between Sir Peter Jackson, the Perry twins, and New Zealand gamers, to commemorate the Battle for Chunuk Bair. Chunuk Bair was part of the 'main attack' for which Lone Pine was the feint.

PostPostscript: The Australian Army's School of Infantry is located at Lone Pine Barracks in Singleton, New South Wales, along with a superb museum open to the public.

Further information:

Australian War Memorial
Australian Army Infantry Museum
Pictures via Google Images

Friday 17 April 2015

Star Wars Imperial Assault campaign finale

Some lacklustre photos, and a spoileriffic conclusion to our Imperial Assault campaign. The photos aren't as action-packed as the game was.


The Rebels fought their way into the Imperial bunker, but were unable to take down Darth Vader. Gaarkhan the Wookie died in the assault, and the remaining traitors were sentenced to death at a show trial. Yay!

Some concluding random thoughts:
  • This is definitely Descent v2.5, not 3.0
  • Good, enjoyable, but not perfect.
  • I'm really looking forwards to more expansions, and will post here as I paint them
  • Also looking forwards to trying new characters
  • I'm so lazy, I hope someone comes up with a record-keeping app for this
  • Board artwork is great, really captures the look of Star Wars
  • I hope the skirmish scene takes off locally
  • Unpainted figures? Not even once.

Sunday 12 April 2015

A Star Wars gaming weekend

It has been a bit quiet on WwB lately, but I'm making up for it with a big gaming binge weekend that corresponds with International Tabletop Day 2015. I played FFG's new Star Wars offerings, Armada and Imperial Assault.

Star Wars: Armada

I enjoyed this more than I thought I would. I commanded a Victory class Star Destroyer against the Rebels' Nebulon B Cruiser and CR90 Corvette, with multiple squadrons of TIEs and X-Wings respectively. I stripped the corvette's shields before killing it with TIEs, and had the cruiser down to its last hull point when the game ended.
Rebels scatter as the Imperials bear down towards them

I found the game fairly straightforwards, with nice pre-painted ships (the fighters aren't painted). I didn't have to refer to any books or sheets as all the information on shields and firepower is there on the ships' bases. Ranges are shorter than I had anticipated, but it does allow for a little bit of manoeuvre.

My favourite part of the game was using the fighter squadrons. There's a whole mini-game in manoeuvering and attacking and escorting and screening your tiny craft, and this will get even richer with expansions for A-, B- and Y-Wings, TIE bombers and Interceptors.
TIE and X-Wing squadrons clash

My gripe remains the aesthetically offending bases and flight stands of the ships and squadrons. They are brighter than the ships, and from a medium distance you can only see the bases and not the ships. I want my spaceships to be suspended against the inky black void, not hidden in perspex glare (see my black X-Wing flight stands). Hurrumph.

Star Wars: Imperial Assault

We got a little carried away, and pulled out a whole campaign over the weekend... I took pics of most, but not all, our games. Minor spoilers ahead, if you're into your campaign.
Rebels attack an Imperial transmitter station

Rebels aid Han Solo down an alleyway (proxy figure from Wizkids)

Rebels suffer an ambush

Rebels break into an Imperial prison
Imperial ambush

Rebels in trouble

Escaping detention via the garbage chute

Gaarkhan smashes the data centre

Gaarkhan goes down in a blaze of glory

We've got the finale mission yet to play- will the Rebels defeat General Weiss and his devious plans? I'm aiming to crack it out next weekend, I'll let you know how we go.

I'm looking forwards to the rest of this year's releases for Imperial Assault- Tusken Raiders, new Stormtroopers and heroes, C-3PO and R2-D2, and of course Boba Fett.